CDN Setup Speed Up Your Site in Minutes
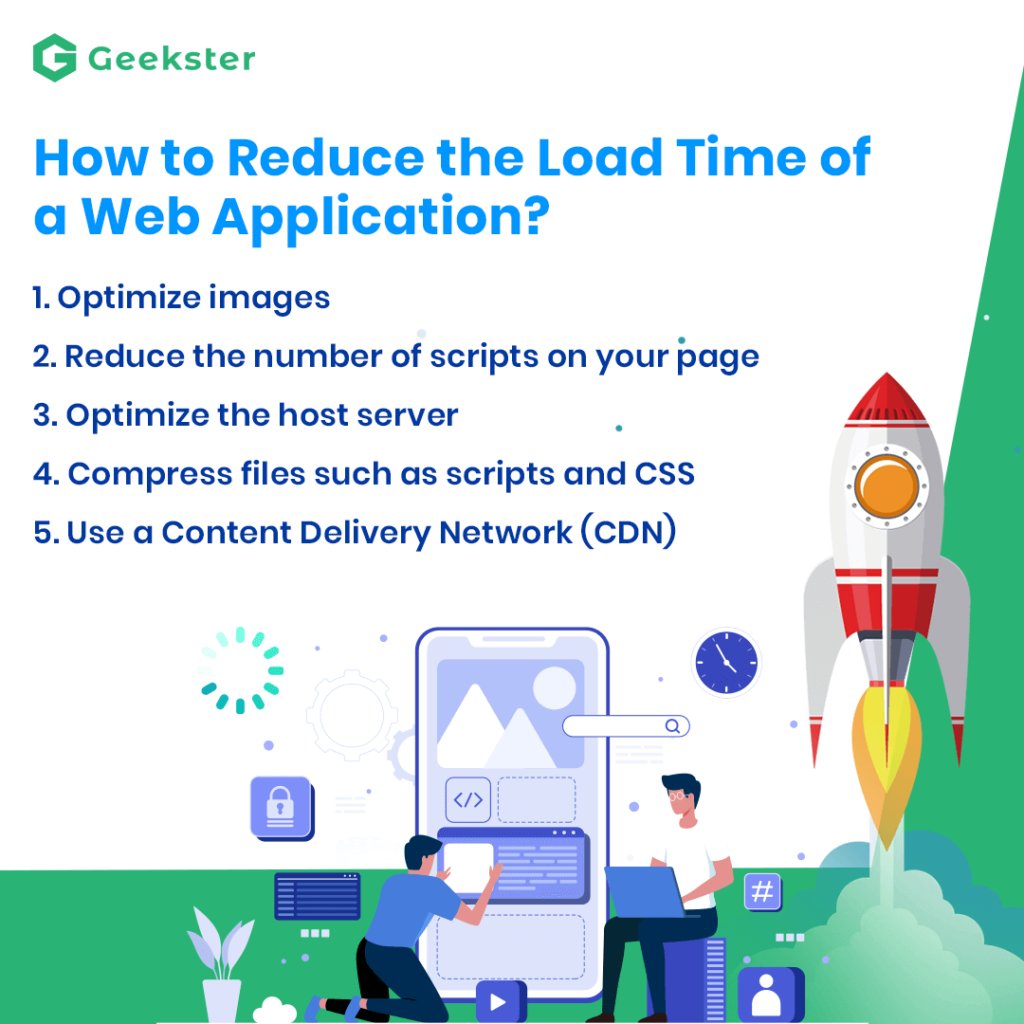
Imagine waiting an eternity for a website to load – frustrating, right? In today’s fast-paced digital world, speed is everything. That’s where Content Delivery Networks (CDNs) come into play. Essentially, a CDN is a network of servers strategically located around the globe that deliver website content to users based on their geographic location.
This drastically reduces latency and ensures a smooth, lightning-fast experience for your audience, no matter where they are. But setting up a CDN can seem daunting. This article demystifies the process, walking you through the essential steps for a successful CDN setup.
We’ll explore key considerations, common pitfalls to avoid, and best practices to optimize performance. By the end of this read, you’ll have a clear understanding of how to implement a CDN and unlock the full potential of your online presence.
Setting Up Your Content Delivery Network (CDN): A Straightforward Guide
Alright, let’s talk about CDNs! You’ve probably heard the term thrown around, but what’s involved in actually setting one up? This isn’t as daunting as it sounds, so let’s jump into the basics.
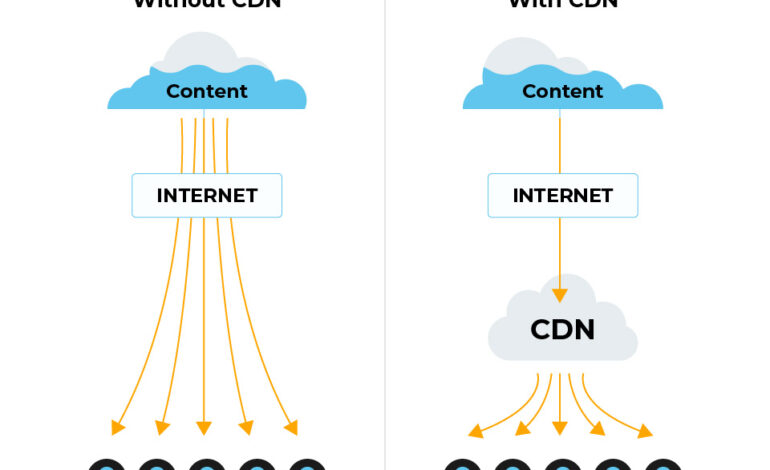
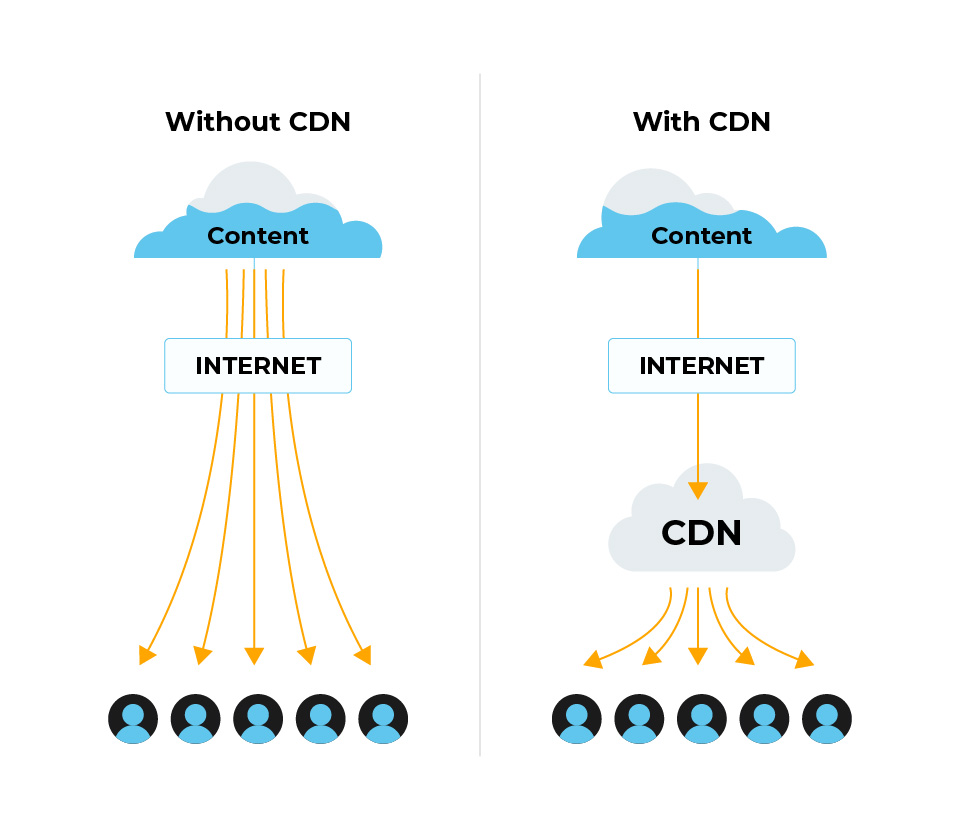
A CDN is a network of servers strategically placed around the globe. They work together to deliver content to users based on their geographic location. This minimizes the distance data travels, resulting in faster loading times.
Think of it as having multiple copies of your website stored closer to your audience. When someone visits your site, the CDN serves the content from the nearest server. It’s all about speed and a smoother user experience.
Getting started with a CDN can really boost the performance of your website or application. This guide breaks down the process, making it easy to understand and implement. Let’s get your content delivered lightning fast!
Why Use a CDN? Benefits Explained
Before diving into the setup, it’s good to understand why you should even use a CDN. The biggest benefit is, without a doubt, improved website speed. Faster loading times lead to happier visitors.
Another huge advantage is reduced bandwidth consumption. By caching content closer to users, your origin server handles less traffic. This can save you money on hosting costs in the long run.
CDNs also offer enhanced security. They can help protect your website from DDoS attacks and other threats. They act as a shield, filtering malicious traffic before it hits your server.
Finally, increased reliability is a fantastic perk. If your origin server goes down, the CDN can still serve cached content. This ensures your website remains accessible even during outages.
So, improved speed, reduced costs, better security, and increased reliability – it’s quite a package. It’s no wonder CDNs have become essential for modern websites.
Choosing the Right CDN Provider
The first step in setting up a CDN is selecting a provider. There are many options available, each with its own strengths and weaknesses. Think about your specific needs and budget.
Consider factors like the size of the CDN’s network. The more servers they have, the better the global coverage. Look for providers with points of presence (POPs) in regions where your audience is located.
Price is always a factor, so compare the pricing models of different providers. Some offer pay-as-you-go options, while others have monthly subscriptions. Choose one that aligns with your budget.
Features such as analytics, security options, and customer support should also influence your decision. Read reviews and compare features before making a final choice.
Popular CDN providers include Cloudflare, Amazon CloudFront, Akamai, and Fastly. Each offers a range of plans to suit different needs. Do your research to find the best fit for you!
Configuration: Connecting Your Website
Once you’ve picked a CDN, it’s time to configure it to work with your website. This generally involves changing your DNS settings to point to the CDN’s servers. Don’t panic; it’s pretty straightforward.
Most CDN providers offer detailed instructions on how to do this. You’ll usually need to log in to your domain registrar’s website and update your DNS records with the information provided by the CDN.
Specifically, you’ll typically be creating or modifying a CNAME record. This tells your domain to redirect traffic to the CDN’s assigned hostname. Remember to propagate DNS changes can take some time.
After the DNS changes propagate, the CDN will start caching your website’s static content. This includes images, CSS files, JavaScript files, and other elements that don’t change frequently.
You might also need to configure caching rules within the CDN’s control panel. This allows you to specify how long content should be cached and which content should be excluded.
Testing and Verification
After configuring your CDN, it’s essential to test and verify that it’s working correctly. You want to make sure your content is being served from the CDN’s servers, not just your origin server.
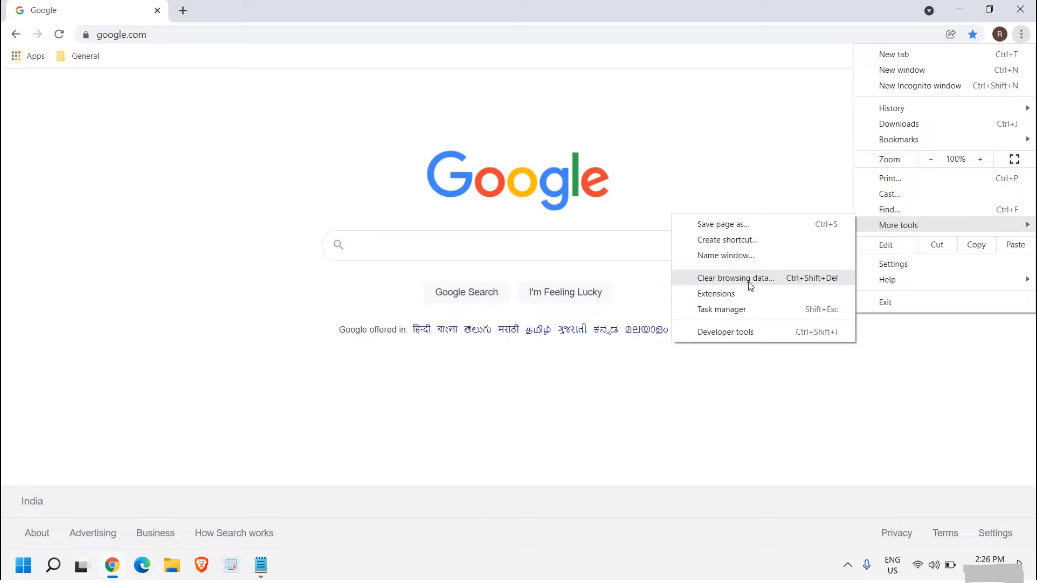
One way to test is to use browser developer tools. Open your browser’s developer console and check the response headers for your website’s assets. Look for headers that indicate the content was served from the CDN.
Online tools like GTmetrix or WebPageTest can also provide valuable insights. These tools show where your content is being served from and how long it takes to load.
You can also use a tool like `ping` or `traceroute` to trace the route of network traffic to your website. This can help you determine if traffic is being routed through the CDN’s servers.
If you encounter any issues, double-check your DNS settings and CDN configuration. Consult the CDN provider’s documentation or support team for assistance. Proper testing is key to a smooth transition.