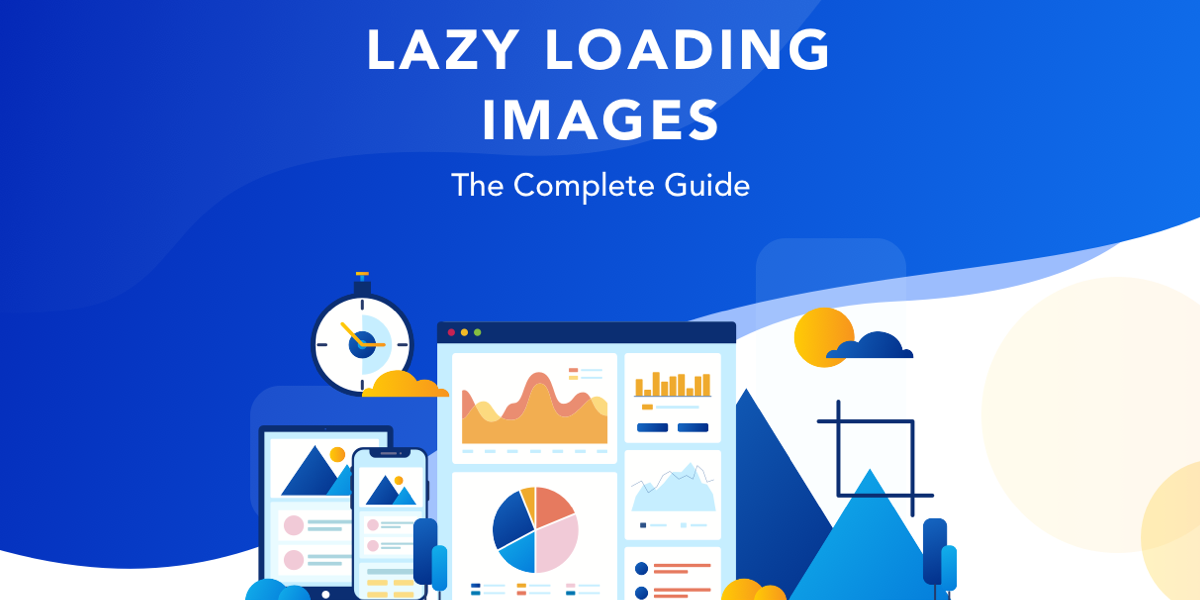
Lazy Loading Images

Did you know that images often make up the bulk of a website’s data? This can significantly slow down page load times, leading to frustrated users and potentially lost conversions. But what if you could tell your website to only load images when they’re actually needed, like just before they appear on screen? That’s where lazy loading images comes in.
It’s a powerful technique that defers the loading of off-screen images until the user scrolls down and they become visible. In essence, you’re only loading what the user is actively seeing. This article will dive deep into lazy loading, exploring its benefits for website performance, user experience, and even your bottom line.
We’ll cover different implementation methods, best practices to follow, and common pitfalls to avoid, ensuring you can seamlessly integrate this optimization strategy into your web development toolkit and create a faster, more efficient browsing experience for your visitors.
Lazy Loading Images: Boost Your Website’s Performance
Hey there! Ever notice how some websites seem to load images as you scroll down the page? That’s lazy loading in action. It’s a technique that delays loading images until they’re actually visible in the viewport.
Think of it like this: you’re only showing the pictures someone needs to see right now. This tactic can dramatically improve initial page load times and enhance the overall user experience. A faster website makes visitors happy!
This approach is an awesome way to optimize your site. It not only reduces bandwidth consumption but also conserves device resources. Everyone appreciates a site that doesn’t drain their battery.
Ready to dive deeper and learn how to implement this performance-boosting technique? Let’s explore the benefits and methods involved in implementing lazy loading!
Why Lazy Loading Matters: A Performance Perspective
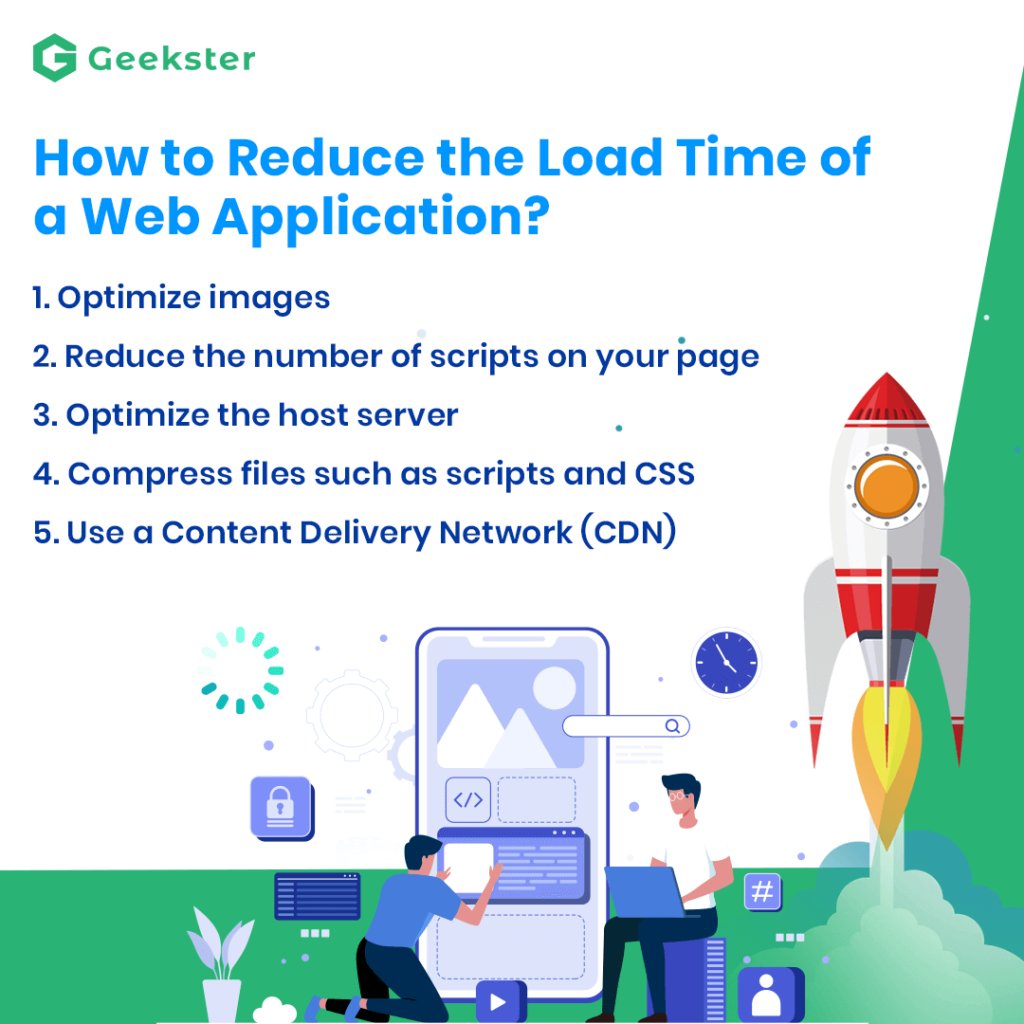
The primary reason for using lazy loading is to improve page speed. By loading only what’s immediately visible, you significantly decrease the amount of data the browser needs to download at once.
This translates to faster initial rendering and quicker interaction. Think of it as streamlining the initial website experience so users can start exploring without delay.
Beyond speed, lazy loading reduces bandwidth usage. If a visitor doesn’t scroll to the bottom of the page, images further down won’t load, saving data. It’s a win for both you and your users!
It also reduces strain on the user’s device. Loading fewer images upfront means less processing power needed, extending battery life on mobile devices. This improves user satisfaction.
Implementing Lazy Loading: Techniques and Methods
There are several approaches to implementing lazy loading. The most modern and recommended method involves using the native loading attribute in HTML.
Simply add loading=”lazy” to your image tags. Browsers that support this attribute will automatically handle the lazy loading, while those that don’t will simply load the images normally. It’s incredibly easy to implement!
For older browsers, you can use JavaScript libraries like Lozad.js or Intersection Observer API. These provide more control and compatibility but require some coding skills.
Using JavaScript, you can monitor when an image enters the viewport and trigger its loading. This can be fine-tuned for optimal performance. It adds a layer of customizability.
Native Lazy Loading: The Simplest Approach
As mentioned, the loading=”lazy” attribute is the simplest and most efficient way to implement lazy loading. It requires no external libraries or complicated code.
Just add it to your tags like this: <img src=”image.jpg” loading=”lazy” alt=”Description”>. The browser does the rest!
However, it’s essential to remember that not all browsers support this attribute. Older versions of some browsers might ignore it. It’s wise to test your implementation.
Always provide a fallback method, like displaying a placeholder image, for those browsers. This ensures a smooth experience for all users, regardless of their browser version.
JavaScript Libraries: More Control and Compatibility
If you need more control or need to support older browsers, JavaScript libraries offer a flexible solution. Lozad.js and the Intersection Observer API are popular choices.
Lozad.js is lightweight and easy to use. You simply include the library and initialize it, and it handles the lazy loading based on your configuration. It’s a great option for simple projects.
The Intersection Observer API provides even more control. It allows you to detect when an element enters the viewport and perform actions accordingly. It’s more advanced, but powerful.
Using JavaScript libraries requires a bit more coding, but the increased control and compatibility are worth it for many projects. Choose the best option for your specific needs.
Best Practices for Lazy Loading: Optimizing for Success
While lazy loading is beneficial, it’s crucial to implement it correctly. Ensure you’re using a placeholder image or a background color to prevent content reflow.
Content reflow happens when images load and shift the page layout. Placeholders help maintain a stable visual experience and prevent user frustration. It keeps the site stable.
Prioritize above-the-fold images. Don’t lazy load images that are immediately visible when the page loads. These should load normally to ensure a fast initial rendering.
Monitor your website’s performance after implementing lazy loading. Use tools like Google PageSpeed Insights to measure the impact and identify any potential issues. Continuous monitoring is key!